Por qué Adalo funciona para planificar y crear tu aplicación
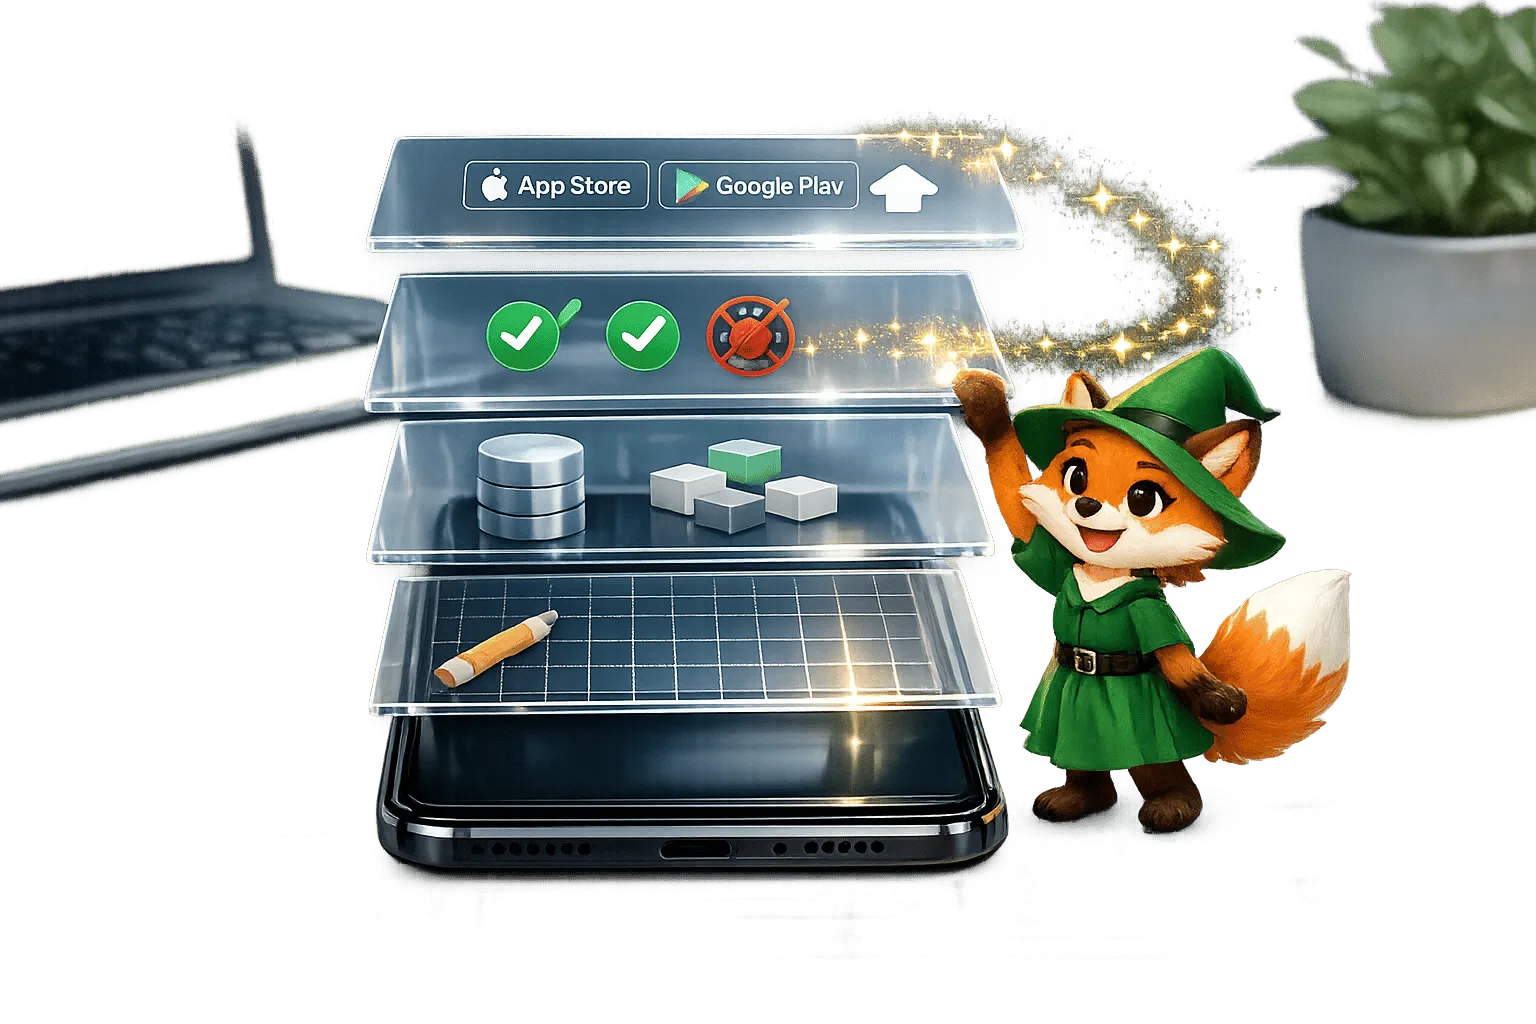
Adalo es un creador de aplicaciones sin código para aplicaciones web basadas en bases de datos y aplicaciones iOS y Android nativas, una versión en las tres plataformas, publicadas en la App Store de Apple y Google Play. Este enfoque unificado significa que tu viaje de usuario cuidadosamente planificado se traduce sin problemas en todas las plataformas sin necesidad de reconstruir pantallas o rediseñar flujos de trabajo para cada dispositivo.
Cuando inviertes tiempo en crear wireframes y mapear tu experiencia de usuario, deseas una herramienta que lleve esa visión a la vida exactamente como la imaginaste. El constructor visual de Adalo te permite implementar tus diseños de wireframe con una simplicidad de arrastrar y soltar, para que puedas ver tu viaje de usuario tomar forma en tiempo real y iterar rápidamente cuando algo necesita refinamiento.
Por qué Adalo funciona para planificar y crear tu aplicación
Adalo es un creador de aplicaciones impulsado por inteligencia artificial para aplicaciones web basadas en bases de datos y aplicaciones iOS y Android nativas, una versión en las tres plataformas, publicadas en la App Store de Apple y Google Play. Este enfoque unificado significa que tu viaje de usuario cuidadosamente planificado se traduce sin problemas en todas las plataformas sin necesidad de reconstruir pantallas o rediseñar flujos de trabajo para cada dispositivo.
Cuando inviertes tiempo en crear wireframes y mapear tu experiencia de usuario, deseas una herramienta que lleve esa visión a la vida exactamente como la imaginaste. El constructor visual de Adalo te permite implementar tus diseños de wireframe con una simplicidad de arrastrar y soltar, para que puedas ver tu viaje de usuario tomar forma en tiempo real y iterar rápidamente cuando algo necesita refinamiento.
La reflexión, planificación y ejecución que implica planificar tu diseño de aplicación móvil bien vale la pena el esfuerzo. Es lo que distingue tu aplicación de los millones de otras aplicaciones en el mercado. Hoy exploraremos wireframes y planificación del viaje del usuario, una parte esencial de tu experiencia de usuario que hemos discutido en nuestro blog anteriormente. ¡Profundicemos!

¿Qué son los wireframes?
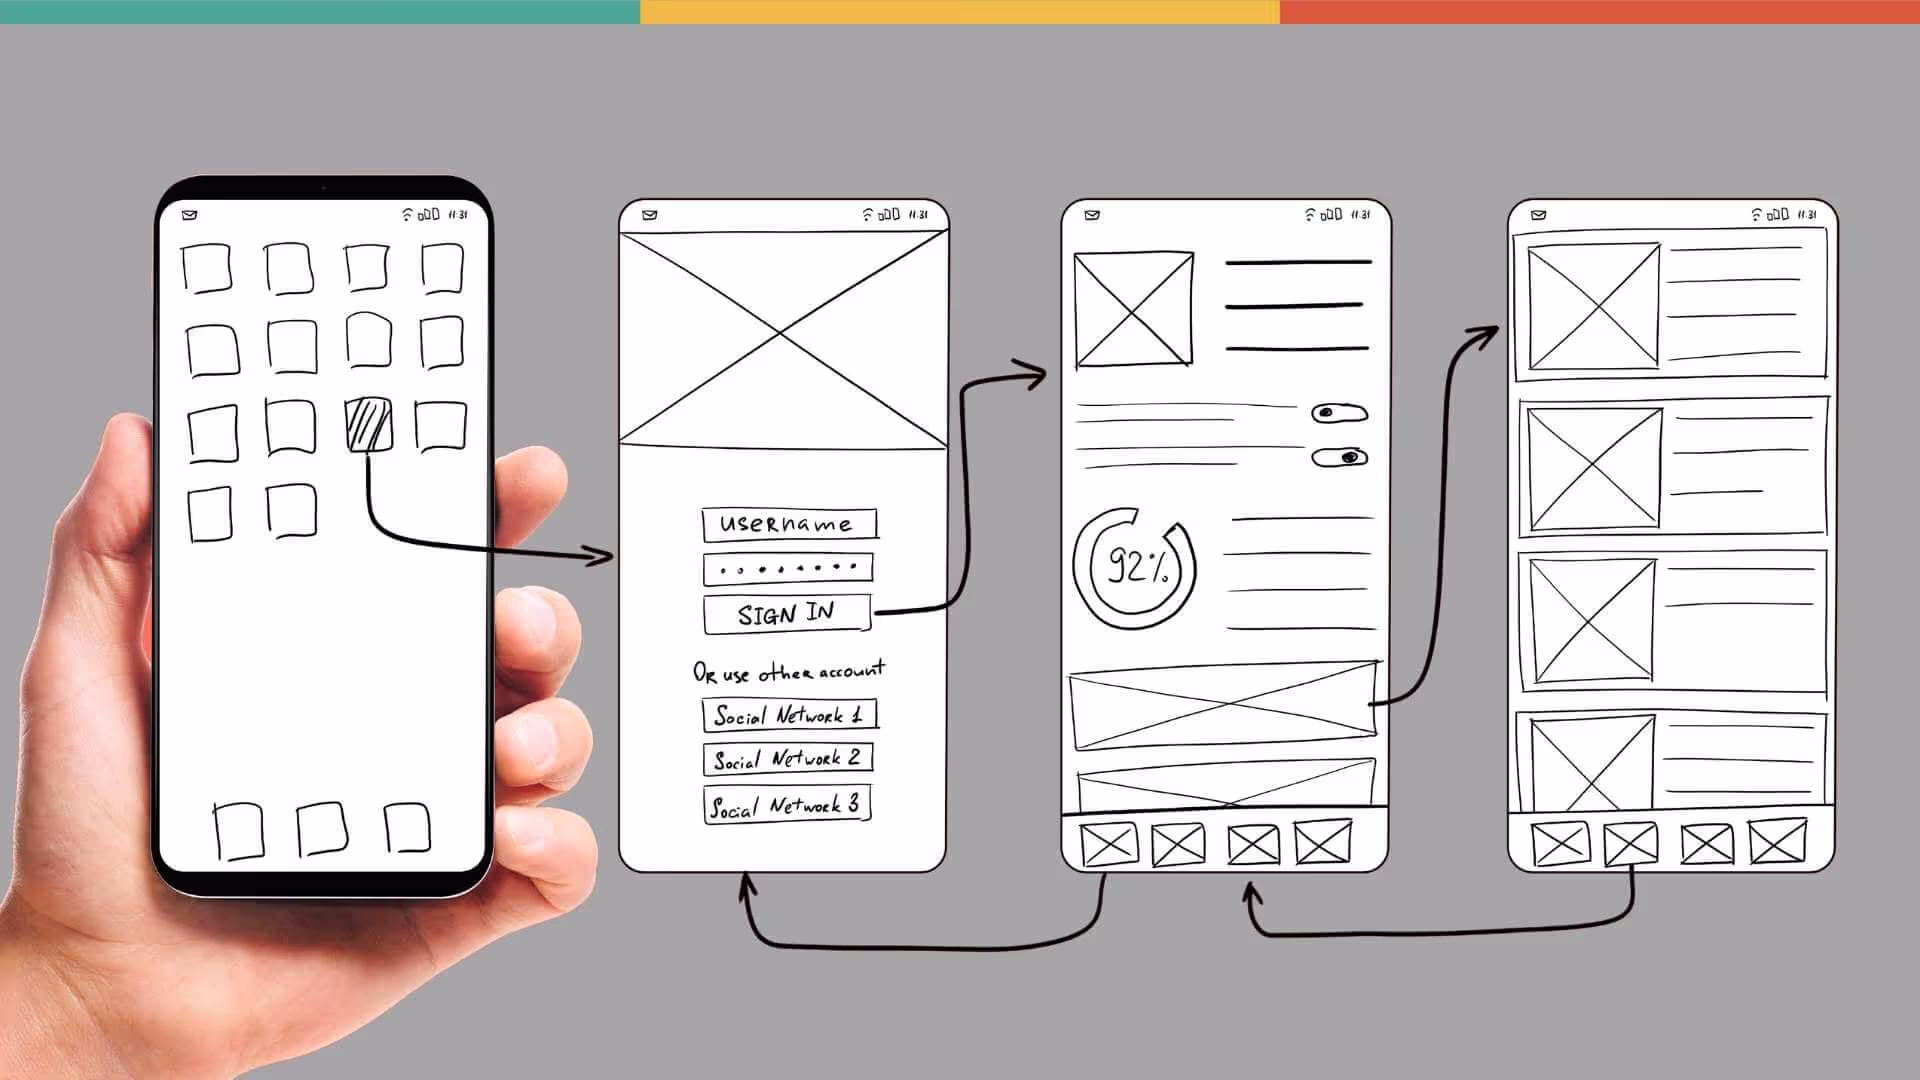
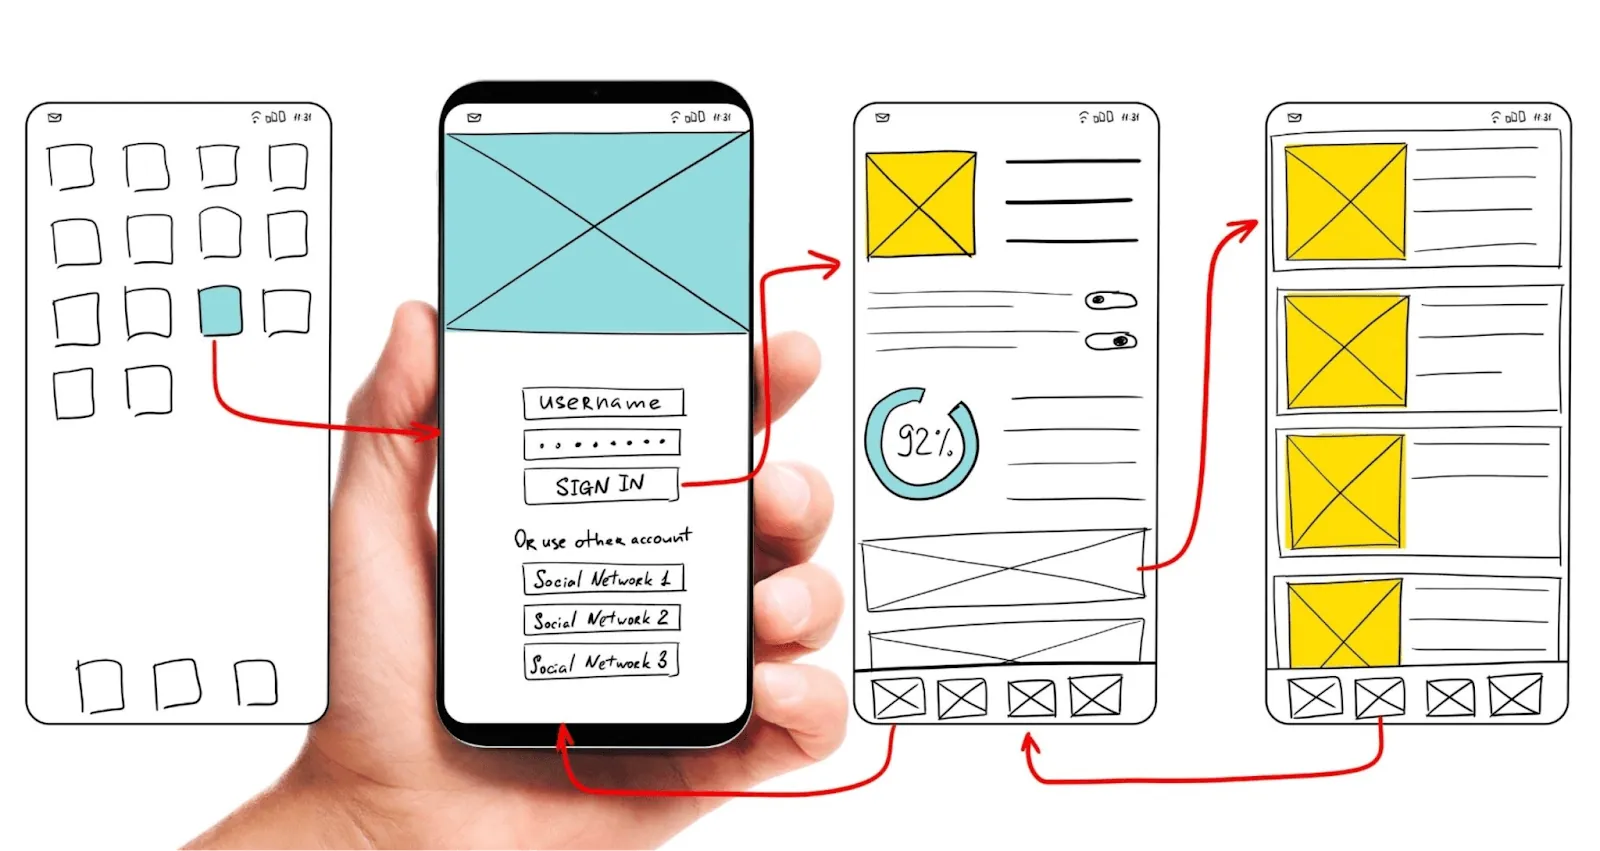
Como el plano de un edificio, un wireframe es un boceto simple que actúa como plano de una aplicación móvil, explicando cómo diferentes pantallas están conectadas entre sí. Los diseñadores a menudo proporcionan un diagrama de wireframe completo a un desarrollador para que pueda construirlo. Es un gran punto de encuentro para que desarrolladores y diseñadores trabajen juntos en la idea de la aplicación antes de la fase de ejecución.
Los wireframes generalmente incluyen los siguientes aspectos del viaje y la experiencia del usuario:
- Posibles acciones del usuario de la aplicación
- Distribución del espacio
- Posicionamiento de elementos
- Características de la aplicación
- Jerarquía del contenido
- Transición entre páginas
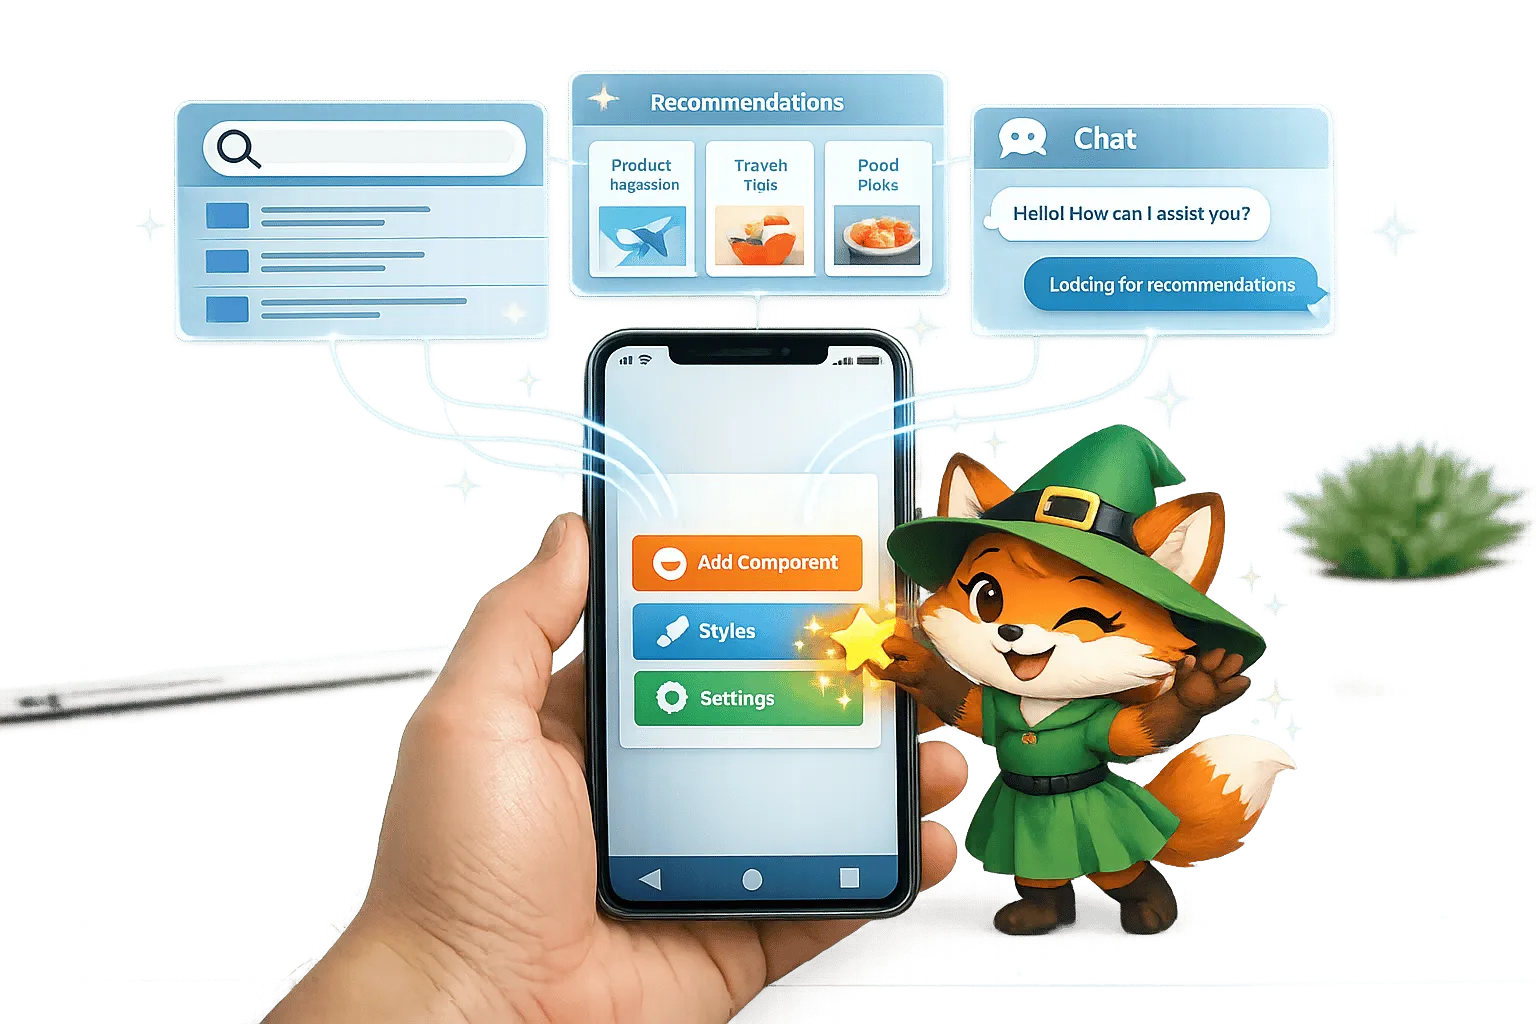
Ada, el constructor de IA de Adalo, te permite describir lo que deseas y genera tu app. Magic Start crea fundaciones de aplicaciones completas a partir de una descripción, mientras que Magic Add agrega funciones mediante lenguaje natural.
Con herramientas asistidas por inteligencia artificial como Magic Start, ahora puedes generar fundaciones de aplicaciones completas a partir de una descripción simple, lo que solía tomar días de planificación de wireframes ocurre en minutos. Dile que necesitas una aplicación de reservas para un negocio de aseo de perros, y crea tu estructura de base de datos, pantallas y flujos de usuarios automáticamente.
Visualización de tu viaje del usuario
Los wireframes son una de las formas más comúnmente utilizadas para visualizar tu viaje del usuario, ¡pero hay otras opciones también! Cubriremos las diferencias entre las tres formas principales para ayudarte a visualizar y refinar tu viaje del usuario, listadas en orden de la cantidad de detalles en cada una: Wireframes, mockups y prototipos.
Wireframes
Esto es usualmente la primera etapa de planificación de tu viaje del usuario. El propósito es aclarar y comunicar características y vincularlas en un viaje cohesivo entre pantallas. Los wireframes no incorporan la apariencia de la aplicación, se enfocán únicamente en estructura y flujo.
Mockups
Un mockup es una versión de un wireframe que es más detallada. Es estática, como un wireframe, pero contiene más aspectos visuales como colores de marca, botones, gráficos, iconos y tipografía. Los mockups ayudan a los diseñadores a agregar aspectos de la interfaz de usuario al viaje del usuario.
Prototipos
Los prototipos se diferencian de los wireframes y mockups principalmente porque no son estáticos. Incluyen elementos de interfaz de usuario y animaciones, con botones que se pueden hacer clic. La idea de un prototipo es obtener la experiencia completa de usar la aplicación. Te permite probar y descubrir cualquier problema del viaje del usuario antes de pasar a la etapa de desarrollo.
¿Cómo mejora el wireframing el proceso de desarrollo de aplicaciones?
Parece mucho trabajo, bosquejar las ideas, dibujar posibles vínculos entre pantallas. Entonces, ¿por qué es importante el wireframing? Digamos que tienes una gran idea de aplicación—quizás tu gimnasio local podría beneficiarse de una plataforma de entrenamiento virtual. Decides crear una aplicación que incluya planes de entrenamiento, un diario de alimentos, un calendario y una fuente de comunidad. ¿Pero cómo interactúan estas características entre sí? ¿Cómo proporcionan una experiencia cohesiva para personas que asisten al gimnasio?
Un wireframe de aplicación ayuda a cerrar la brecha entre tu idea inicial y el producto final que está en manos de alguien.
1. Refina tu idea de aplicación
Cuando tu idea de aplicación es solo una idea, muchas cosas pasan desapercibidas. Es posible que no veas algunas brechas evidentes en la ejecución o diseño. Puede haber algunas características que simplemente no tendrán sentido pero no lo sabrás hasta que se construya. Una forma más fácil es hacer un wireframe de tu idea de aplicación para que puedas interactuar virtualmente con todas las características y aclarar tu idea de aplicación.
Con Magic Add, puedes describir nuevas características en lenguaje natural y agregarlas a tu aplicación automáticamente. Esto hace que iterar sobre tus conceptos de wireframe sea más rápido que nunca, prueba ideas sin reconstruir desde cero.
2. Agiliza el trabajo de diseño y desarrollo
Los wireframes son mucho más fáciles de hacer que construir características en una aplicación. Tienes la oportunidad de rastrear y analizar la experiencia del usuario y hacer que el viaje sea lo más fácil e intuitivo posible antes de comenzar el proceso de diseño y desarrollo.
La revisión de la infraestructura de Adalo 3.0 (lanzada a finales de 2025) hizo que las aplicaciones 3-4 veces más rápidas que antes. Esto significa que tus viajes de usuario cuidadosamente planificados funcionan realmente sin problemas en producción, sin demora entre pantallas o consultas de bases de datos lentas que socaven la experiencia que diseñaste.
3. Te ayuda a enfocarte en los usuarios finales
Diferentes personas pueden interactuar con tu aplicación de diferentes maneras, y eso es algo bueno. Hacer un simple mapeo de personas te ayuda a definir los tipos de usuarios que puedas tener para que puedas crear viajes de usuario específicos para ellos. Los wireframes te ayudan a visualizar esos viajes para que puedas hacerlos lo más fluidos y efectivos posible.
La infraestructura modular de Adalo se escala para servir aplicaciones con millones de usuarios activos mensuales, sin límite superior. A diferencia de los envases de aplicaciones que alcanzan restricciones de velocidad bajo carga, la arquitectura específica de Adalo mantiene el rendimiento a escala, por lo que tu viaje de usuario funciona tan bien para tu millonésimo usuario como para tu primero.
Pasos para visualizar y planificar tu viaje del usuario de aplicación móvil PASO 1: Bosqueja tu flujo de usuario

Piensa en los diferentes viajes que tu usuario puede tomar si se le da tu aplicación, cómo se comportarán, a qué serán atraídos, cuándo podrían irse. El flujo de usuario es un gráfico que esboza los pasos específicos que un usuario puede tomar para completar una tarea. Este gráfico te ayudará a determinar cuántas pantallas necesitas para completar cada tarea e interactuar con las características.
Este diagrama generalmente solo tiene marcos rectangulares y flechas que los conectan. No necesariamente tiene que ser lineal, ya que los usuarios pueden tomar diferentes caminos para completar la misma tarea. El objetivo es proporcionar claridad mientras avanzas a los siguientes pasos.
PASO 2: Diseña la pantalla de tu aplicación
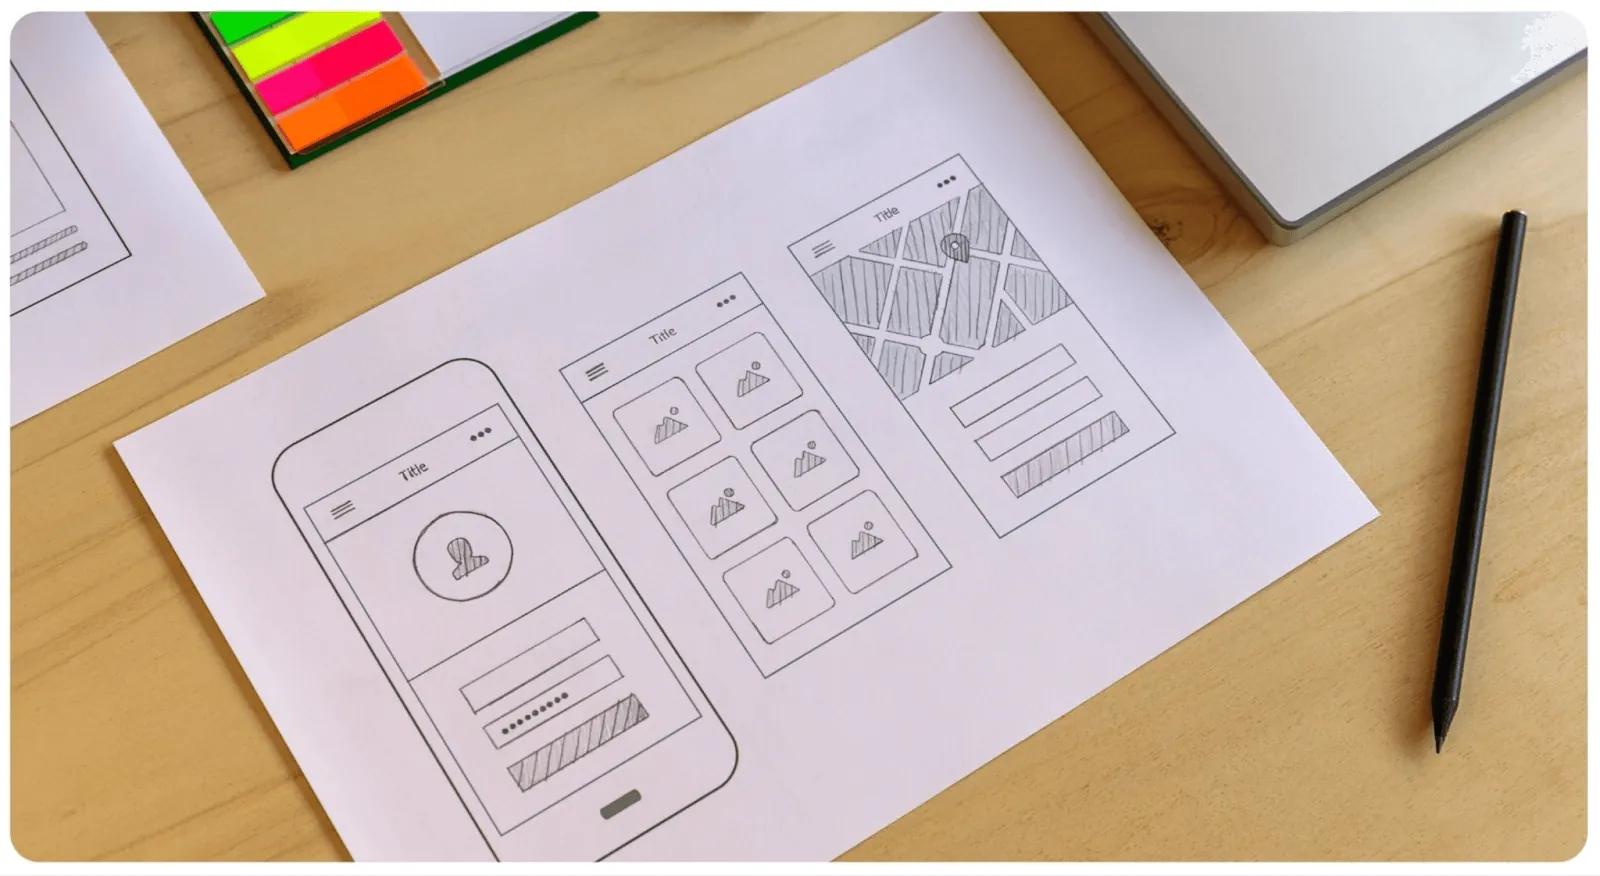
Ahora es hora de ensamblar aproximadamente lo que la
pantalla de la aplicación podría parecer. Esto le dará a tu flujo de usuario cierta estructura y estará un paso más cerca de un mockup. Puedes bosquejar dónde estarán elementos particulares, botones y gráficos. Generalmente, se utilizan cuadros para representar contenido en una jerarquía visual clara. Estos cuadros representan cómo deseas que tu usuario procese la información en cada pantalla, y sus tamaños se bosquejan en consecuencia. Esto significa que la información importante se coloca en cuadros más grandes de arriba a abajo, y de izquierda a derecha en orden de prioridad.
El constructor visual de Adalo puede mostrar
El constructor visual de Adalo puede mostrar hasta 400 pantallas a la vez en un solo lienzo, lo que te da una vista de pájaro de toda la arquitectura de tu aplicación. Esto hace que sea fácil ver cómo tu wireframe se traduce en pantallas reales e identificar problemas de navegación antes de que los usuarios los encuentren.
PASO 3: Agrega tu contenido
¡No más texto ficticio! ¡Adiós, 'Lorem Ipsum'! Ahora es el momento de agregar el contenido real a tus bocetos de pantalla. Puede parecer un poco prematuro hacerlo, pero a medida que comiences a agregar contenido, es posible que te des cuenta de que algunos elementos de la interfaz de usuario no se ajustan como pensabas. O podría tener más sentido replantear completamente algunas partes del flujo de usuario.
Si necesitas una guía simple para escribir contenido para tu aplicación móvil, consulta esta guía.
PASO 4: Vincula tus pantallas
Ahora viene la parte divertida. Hasta ahora, solo has esbozado pantallas de aplicaciones individuales, y ahora es el momento de conectar las pantallas. Esto ayuda a tu equipo de desarrollo a entender cómo funcionará la aplicación y cómo se debe construir. Para hacerlo más fácil, asigna un número de referencia a cada pantalla de la aplicación para que puedas colaborar con otros equipos en el diseño y desarrollo.
PASO 5: Construye tu prototipo
Ahora es el momento de transformar tu wireframe en un prototipo funcional. Esto implica agregar más detalles a tu wireframe para terminar con una versión que se vea y se sienta como la versión final de tu aplicación.
Un prototipo interactivo es una opción aún mejor porque te proporciona una visión más completa de cómo será la experiencia final del usuario. Con Adalo, tu prototipo puede convertirse en tu aplicación de producción real, sin necesidad de reconstruir en una herramienta diferente. El constructor visual ha sido descrito como tan fácil como PowerPoint por los usuarios, haciendo que la transición del wireframe a la aplicación funcional sea sin problemas.

Nuestras mejores herramientas para visualizar el recorrido del usuario de tu aplicación móvil
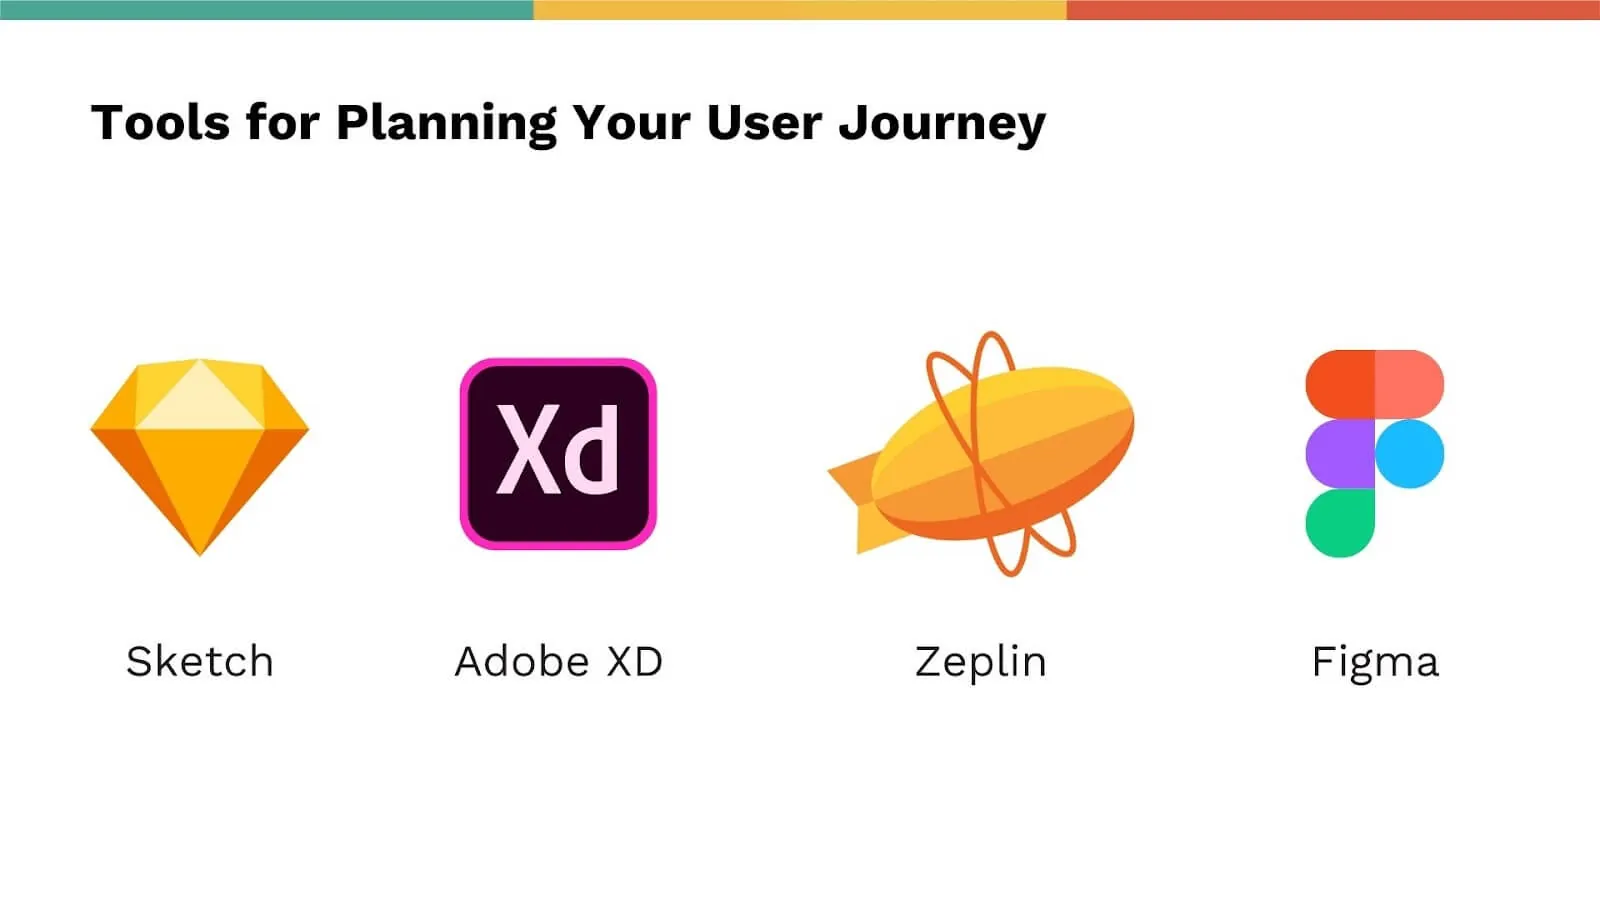
La planificación del recorrido del usuario y el wireframing pueden parecer un proceso intimidante, especialmente si eres nuevo en la creación de aplicaciones. ¡Pero no te preocupes! Hay algunas herramientas impresionantes y poderosas que hacen el proceso mucho, mucho más fácil. Una buena herramienta de wireframing idealmente debe tener plantillas, facilitar la colaboración y tener edición de vectores fluida. Aquí hay algunas opciones excelentes a considerar.
Sketch
Sketch es una herramienta de wireframing popular, disponible solo en Mac. Según su sitio web, "Sketch te proporciona todas las herramientas que necesitas para un proceso de diseño verdaderamente colaborativo. Desde ideas iniciales hasta arte perfecto en píxeles, prototipos reproducibles y entrega a desarrolladores." Las características clave de Sketch incluyen edición de vectores, precisión perfecta de píxeles, capacidad de sincronización con cientos de complementos, capacidad de exportar ajustes preestablecidos y código, creación de prototipos y herramientas para colaboración.
AdobeXD
AdobeXD es una de las herramientas más utilizadas para wireframing y creación de prototipos. Adobe la llama la "solución de diseño UX más rápida y confiable del mercado para empresas de 10 o 10,000. Rompe cuellos de botella, itera rápidamente y escala para el futuro." Está diseñada para el diseño y respaldada por una infraestructura sólida. Puedes diseñar con elementos reutilizables (y editarlos), cambiar el tamaño de grupos y objetos de manera receptiva, y crear activos universales, estilos o una cuadrícula de repetición.
Zeplin
Zeplin es una solución de colaboración y entrega que permite a las empresas compartir ideas, organizar proyectos y crear productos utilizando un espacio de trabajo digital. La plataforma asiste a los usuarios en la generación de guías de estilo global, permitiendo que diseñadores y desarrolladores organicen, actualicen y compartan colores del sistema de diseño, estilos de texto, códigos y otros componentes en un repositorio centralizado con capacidades de arrastrar y soltar. Se integra bien con software como Adobe XD y Sketch.
Figma
Figma es una herramienta de diseño vectorial colaborativa, online y basada en la nube. En tu navegador, puedes crear tu wireframe y prototiparlo en un solo lugar. Debido a sus capacidades de colaboración en tiempo real, Figma hace posible que múltiples diseñadores e interesados trabajen en el mismo proyecto al mismo tiempo.
Del Wireframe a la aplicación publicada
Una vez que tu wireframe está completo, la pregunta real se convierte en: ¿cómo lo conviertes en una aplicación funcional? El desarrollo tradicional requiere contratar desarrolladores, gestionar bases de código y navegar procesos complejos de envío de tienda de aplicaciones. Aquí es donde el constructor de aplicaciones correcto marca la diferencia.
Adalo cierra la brecha entre el wireframe y la aplicación de producción con varias ventajas clave:
- Base de código única, tres plataformas: Construye una vez y publica en la web, App Store de iOS y Google Play Store simultáneamente
- Sin límites de datos: Los planes pagados incluyen registros de base de datos ilimitados, por lo que tu recorrido de usuario puede escalar sin alcanzar límites de almacenamiento
- Sin cargos basados en uso: Todos los planes ahora incluyen uso ilimitado sin sorpresas de facturación, a diferencia de las plataformas con unidades de carga de trabajo o límites de acciones
- Monitoreo de rendimiento X-Ray: Identifica posibles problemas antes de que afecten a los usuarios, asegurando que tu recorrido de usuario cuidadosamente planeado funcione sin problemas
Más de 3 millones de aplicaciones han sido creadas en Adalo, procesando millones de solicitudes de datos diariamente. La plataforma maneja el proceso complejo de envío de App Store, para que puedas enfocarte en las características y la experiencia del usuario de tu aplicación en lugar de luchar contra certificados, perfiles de aprovisionamiento y directrices de tienda.
Concluyamos
Aunque el wireframing puede parecer tedioso y agotador, definitivamente vale la pena el esfuerzo. Una buena planificación del recorrido del usuario te ayuda a entender mejor el propósito de tu aplicación y sus usuarios objetivo. Y aunque puede no parecer así, también optimiza la cantidad de tiempo y dinero que gastas en diseño y desarrollo porque minimiza la probabilidad de esfuerzo desperdiciado.
¿Lo mejor? Con constructores de aplicaciones modernos impulsados por IA, tu wireframe no tiene que permanecer como un documento estático. Puede convertirse en la base para una aplicación real y funcional que se publique en todas las plataformas principales desde una única compilación.
¡Feliz construcción!
Preguntas frecuentes
¿Por qué elegir Adalo sobre otras soluciones de construcción de aplicaciones?
Adalo es un constructor de aplicaciones impulsado por IA que crea verdaderas aplicaciones iOS y Android nativas. A diferencia de los envoltorios web, se compila a código nativo y se publica directamente en la App Store de Apple y Google Play Store desde una única base de código—la parte más difícil de lanzar una aplicación se maneja automáticamente.
¿Cuál es la forma más rápida de construir y publicar una aplicación en la App Store?
La interfaz de arrastrar y soltar de Adalo y la construcción asistida por IA te permiten ir desde la idea a la aplicación publicada en días en lugar de meses. La plataforma maneja el proceso complejo de envío de App Store, incluyendo certificados y perfiles de aprovisionamiento, para que puedas enfocarte en las características y la experiencia del usuario de tu aplicación.
¿Puedo implementar fácilmente mis diseños de wireframe en una aplicación funcional?
Sí, con el constructor visual de Adalo, puedes implementar tus diseños de wireframe en una aplicación completamente funcional. La interfaz de arrastrar y soltar te permite traducir tus wireframes con simplicidad, permitiéndote ver tu recorrido de usuario cobrando vida en tiempo real e iterar rápidamente cuando se necesitan refinamientos.
¿Cuál es la diferencia entre wireframes, mockups y prototipos?
Los wireframes son bocetos simples que muestran cómo se conectan las pantallas sin elementos de diseño visual. Los mockups agregan más detalle visual incluyendo colores de marca, botones y tipografía mientras permanecen estáticos. Los prototipos son versiones interactivas con botones interactivos y animaciones que te permiten probar la experiencia del usuario completa antes de que comience el desarrollo.
¿Por qué es importante hacer wireframing antes de construir mi aplicación?
El wireframing te ayuda a refinar tu idea de aplicación revelando brechas en la ejecución o el diseño antes de que inviertas en desarrollo. Simplifica el proceso de diseño y desarrollo permitiéndote analizar la experiencia del usuario temprano, y te ayuda a enfocarte en los usuarios finales visualizando viajes específicos para diferentes personas de usuario.
¿Qué herramientas puedo usar para crear wireframes para mi aplicación móvil?
Las herramientas populares de wireframing incluyen Sketch (solo Mac) para edición de vectores y creación de prototipos, Adobe XD para iteración rápida de diseño UX, Zeplin para colaboración y entrega a desarrolladores, y Figma para colaboración en tiempo real basada en la nube. Estas herramientas ofrecen plantillas, edición de vectores fluida y características de colaboración para hacer el proceso de wireframing más fácil.
¿Cuáles son los pasos clave para planificar el recorrido del usuario de mi aplicación móvil?
Comienza esbozando tu flujo de usuario para mapear los pasos que los usuarios toman para completar tareas. Luego diseña las pantallas de tu aplicación con jerarquía visual, agrega tu contenido real para probar el ajuste, vincula tus pantallas con números de referencia y finalmente construye un prototipo interactivo para probar la experiencia del usuario completa antes del desarrollo.
¿Cuánto tiempo lleva construir una aplicación enfocada en el recorrido del usuario?
Con el constructor visual de Adalo y características de IA como Magic Start, puedes ir del wireframe al prototipo funcional en horas en lugar de semanas. La publicación en tiendas de aplicaciones típicamente toma días en lugar de meses, dependiendo de la complejidad de la aplicación y los tiempos de revisión de Apple/Google.
¿Necesito experiencia en codificación para construir una aplicación a partir de mis wireframes?
No se requiere experiencia en codificación. El constructor visual de Adalo ha sido descrito como "tan fácil como PowerPoint" por los usuarios. Puedes implementar tus diseños de wireframe usando componentes de arrastrar y soltar, y Magic Add te permite describir nuevas características en lenguaje natural para que se agreguen automáticamente.
¿Cuánto cuesta construir y publicar una aplicación?
El constructor web y de aplicaciones móviles nativas de Adalo comienza en $36/mes con uso ilimitado y publicación en tienda de aplicaciones. Esto incluye actualizaciones ilimitadas para aplicaciones publicadas y sin límites de registros de base de datos en planes pagados. Compara esto con alternativas como Bubble que comienza en $69/mes con cargos basados en el uso y límites de registros.
Construye tu aplicación rápidamente con una de nuestras plantillas de aplicación prediseñadas
Comienza a construir sin códigoContenido Relacionado

Creación de una aplicación móvil: Recursos útiles para realizar investigación de usuarios
La investigación del usuario es importante, pero realizarla requiere una planificación cuidadosa. ¡Aquí hay algunos recursos útiles para hacer el proceso mucho más fácil!
Construyendo Tu Aplicación Móvil: La Guía Completa de Desarrollo e Implementación de Adalo
Guía paso a paso para diseñar, crear, probar y publicar aplicaciones móviles multiplataforma y PWA con herramientas de IA, bases de datos, pruebas y tienda de aplicaciones
Integración de características de IA en tu aplicación móvil sin código
Guía para agregar IA a tu aplicación móvil sin código: configura APIs, diseña indicaciones y crea búsqueda inteligente, recomendaciones, PNL, categorización, y
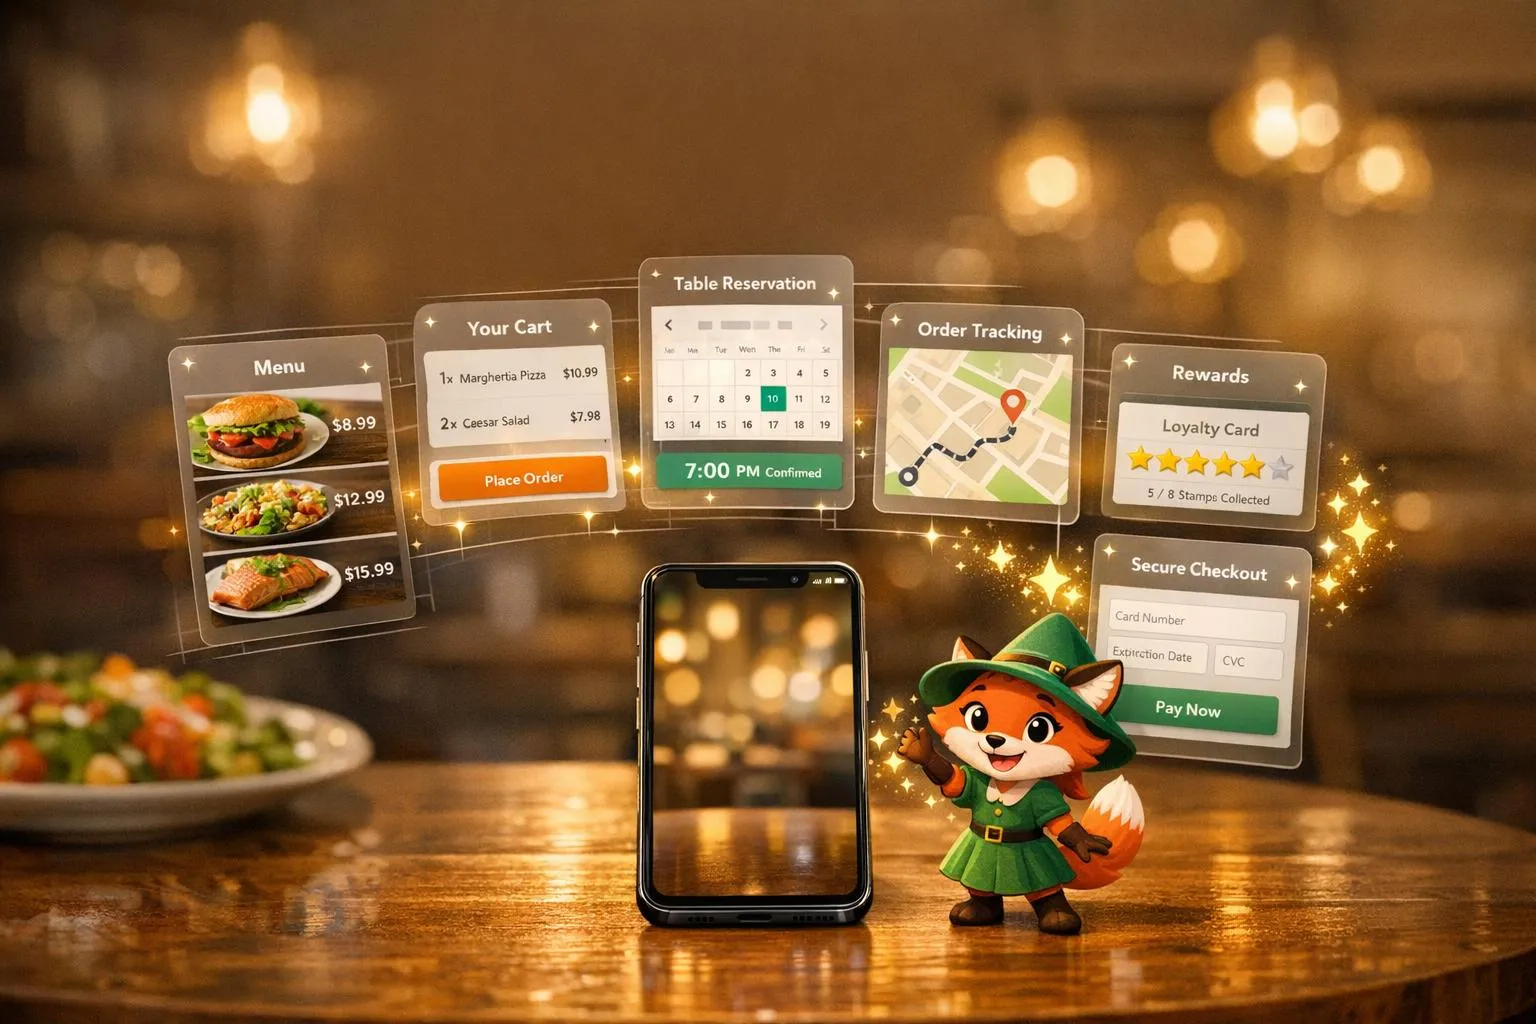
Creando una aplicación móvil de restaurante con Adalo: tutorial completo
Guía paso a paso para crear y publicar una aplicación de restaurante con Adalo, cubriendo menús, pedidos en línea, reservaciones, seguimiento de entregas, lealtad